
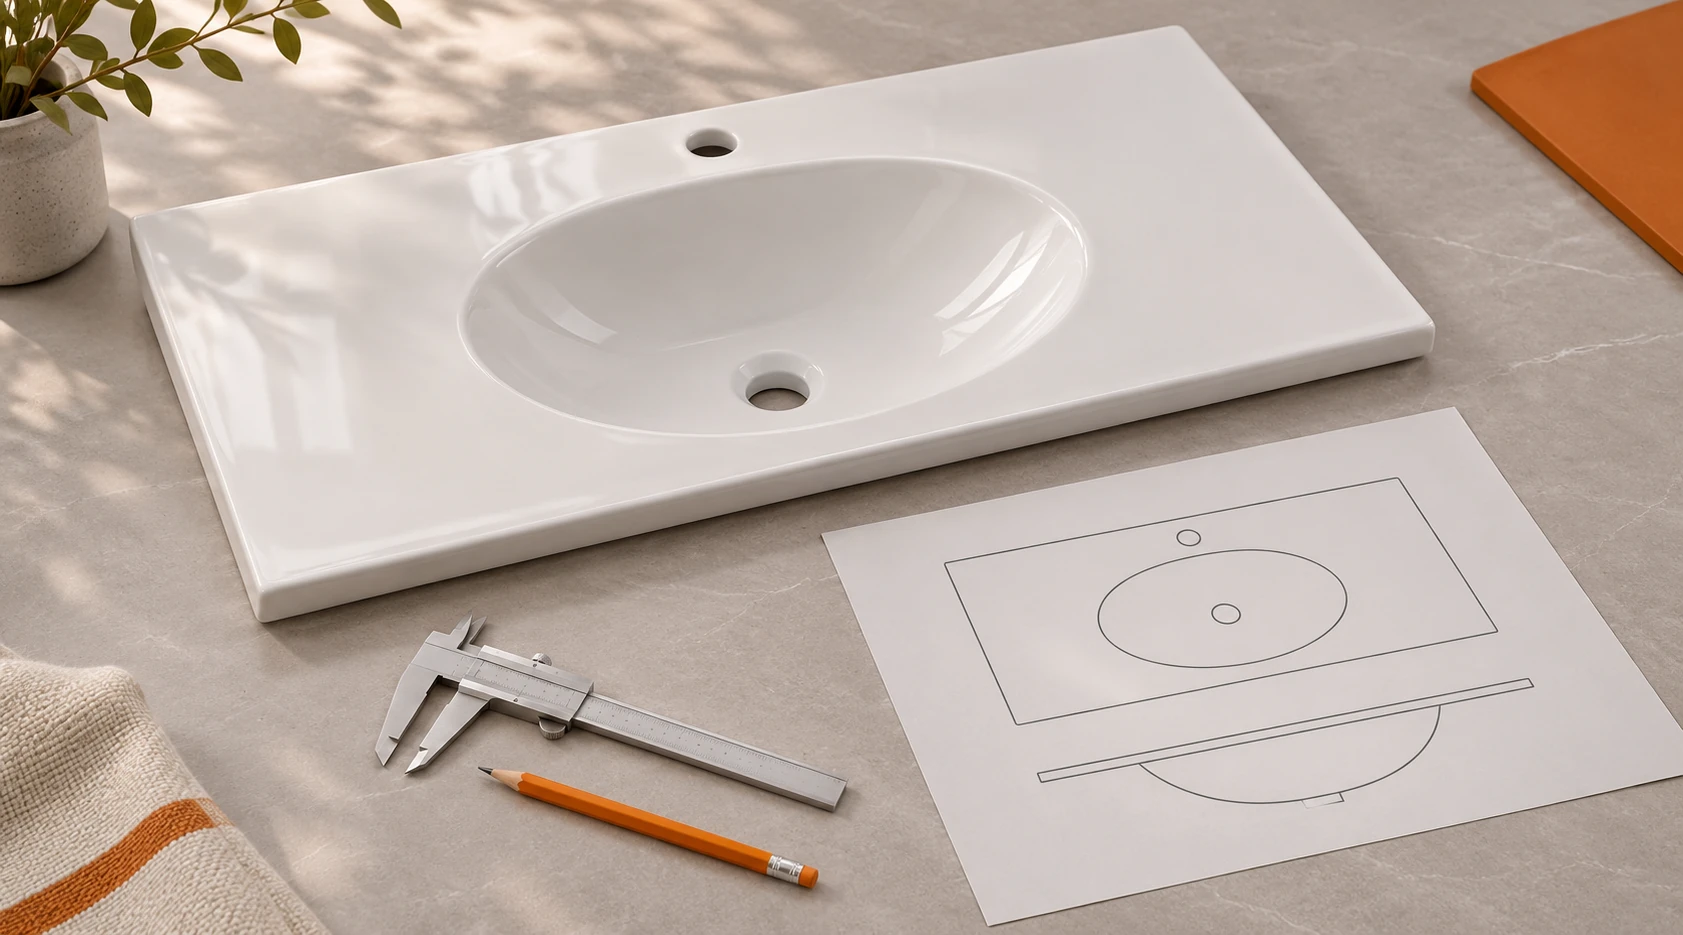
A ceramic top can be the correct nominal width and still fail on a cabinet. The bowl may interfere with a drawer, the back edge may meet a wall out of square, or the tap hole may conflict with a rail. Cabinet and ceramic drawings need to be reviewed as one assembly.
Give the supplier the cabinet envelope
Send the finished cabinet width and depth, top support arrangement, drawer clearances, wall condition and intended overhang. State whether the ceramic piece is intended to sit on side panels, a full rail or another support. A photograph alone cannot define these interfaces.
The CADIA catalogue includes ceramic vanity tops such as OM-C001. These are model references. Confirm their current technical drawings and whether the selected top can be paired with your cabinet before treating a listing as an approved specification.
Mark every interface on one drawing
| Interface | Dimension or decision to record |
|---|---|
| Outer envelope | Finished length, depth, overall height and allowable edge variation |
| Basin position | Centreline relative to cabinet sides, bowl projection and underside clearance |
| Tap and waste | Hole count and centres, waste location, trap space and overflow configuration |
| Installation | Support points, wall gap, sealing line and access for future replacement |
Ask which dimensions are nominal and which are controlled to a stated tolerance. Ceramic firing can affect final size, so a cabinet maker needs an agreed fit range rather than an assumption that each piece will match a CAD drawing exactly. Do not select a tolerance from a generic article; agree it against the model, cabinet construction and assembly test.
Build a fit test into sample approval
Place the sample on a production-intent cabinet, install the specified tap and waste, then check drawer movement and service access. Photograph the assembly from front, side and underside. If the cabinet drawing changes, review the top again before authorising volume production.
Use common datums, not separate nominal sizes
The cabinet maker and ceramic supplier should dimension from the same reference edges. Mark the cabinet centreline, finished front, wall edge and top-support plane. Then locate the bowl centre, waste opening, tap holes and underside projection from those datums. Two drawings that both say “800 mm” may still disagree about whether that length includes a rear upstand or the front overhang.
Ask for a top view, front and side elevations, and an underside view. A section through the bowl and cabinet is often the fastest way to expose interference with a top drawer, rail or trap. State the actual installation hardware and sealant zone. If the cabinet has doors or drawers near the basin, show their full travel envelope. The drawing should also identify which surfaces are finished and visible after assembly.
Manage ceramic and furniture variation together
Fired ceramic and manufactured furniture have different variation sources. The practical question is whether the complete assembly still fits at the worst acceptable combination. Make a small fit table with the cabinet opening range, top footprint range, wall-gap allowance and support contact area. Ask both parties to agree a workable assembly window. Do not publish a universal ceramic tolerance in the purchase order without checking the chosen model and cabinet design.
For example, if a cabinet uses a narrow rear rail, a change in bowl underside projection may matter even when the outer top remains within its nominal width. Conversely, a slightly wider top may be harmless if the overhang is intentional. The critical dimensions are those that affect assembly, drainage, fixing and appearance in the installed position.
Run a production-intent assembly trial
Use a cabinet made to the intended production construction, not a temporary display stand. Fit the ceramic top, intended tap, waste and trap. Check level, support contact, drawer movement, hand access for plumbing and the path for removing a damaged top later. Photograph the underside with the drawer open and closed. Record any shims, sealant thickness or site adjustments required; if the trial depends on improvised correction, update the drawings before volume ordering.
Approve a first-off unit from production against the sample and assembly record. If the ceramic drawing changes, identify whether the cabinet drawing, cutting program, packaging insert or installation instruction also needs revision. A change register with revision, reason, owner and effective order line is more reliable than an email saying “use the latest file”.
Protect the approved fit during delivery and installation
A large top needs packing that supports its vulnerable corners and basin underside. Request a packing drawing and confirm how installers will lift and store the piece without loading the rim or cut-out. Include an installation instruction showing support and sealing points. The first assembled cabinet is only a valid reference if the site team receives the same drawing revision, fitting list and handling method.
For a new shape or finish, document who owns the drawing revision, sample sign-off and packaging approval. The OEM / ODM overview outlines discussion topics, while feasibility and available options require a model-specific response. Send the cabinet drawing and target quantity with your enquiry.