
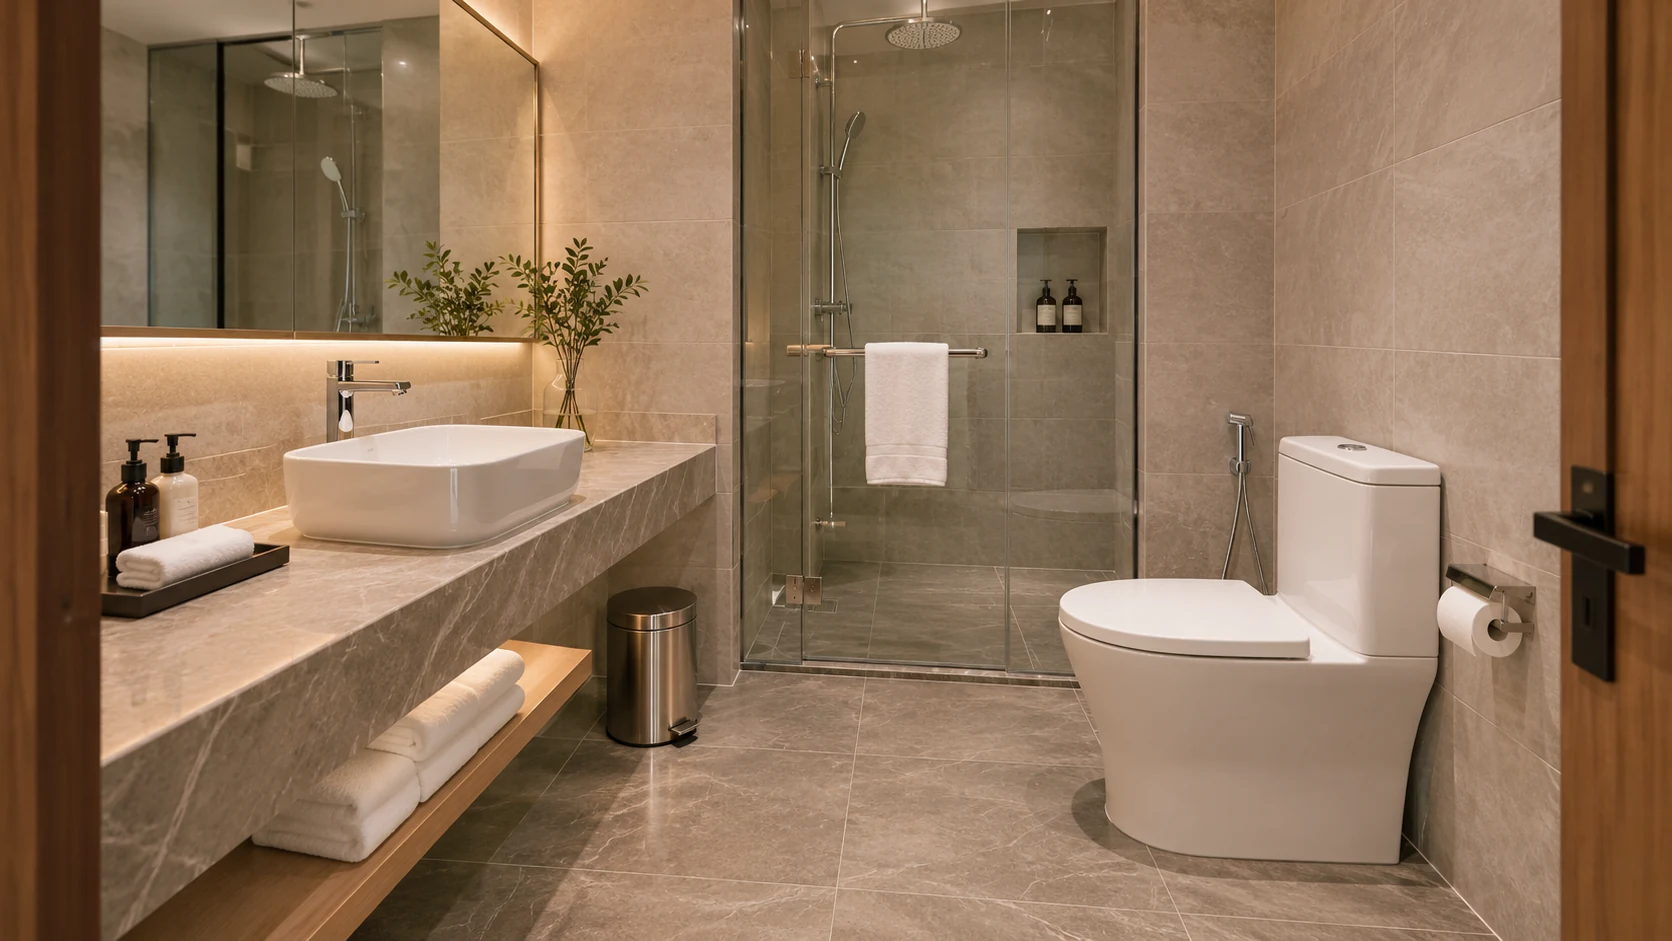
In a hotel, a basin or toilet is repeated across many rooms. Small installation ambiguities multiply, and replacement parts may be needed years after handover. Model standardisation deserves as much attention as the first room’s appearance.
Build a room schedule before choosing models
List each bathroom type, the number of rooms, accessibility requirements, counter and wall construction, plumbing set-out and intended maintenance access. Separate standard rooms from suites and accessible rooms where their interfaces differ. A single product photograph cannot confirm that one model works in all three.
The hospitality solutions page introduces project discussion areas. Use the basin catalogue and toilet range to shortlist real models, then obtain drawings and samples for each proposed room type. Do not treat a website image as a project approval.
Approve the installed sample room
Install the proposed basin, tap, waste, toilet and relevant accessories in a sample bathroom. Check reach, clearances, water splash, cleaning access, seat and flush operation, and the visibility of joints. Have the installer and maintenance team review the room as well as the design team. Record every approved component and drawing revision.
| Programme risk | Control to put in the specification |
|---|---|
| Variations between rooms | One approved model and finish code per room type |
| Late plumbing changes | Dimensioned set-out and substitution review |
| Damaged units after opening | Agreed spare quantities and model identification |
| Future maintenance | Replacement part list and access plan |
Plan replacement supply from the start
Ask whether the exact ceramic model, seat, flush parts and finish can be supplied for the expected maintenance period, and put any commitment in the contract. Where continuity cannot be guaranteed, retain approved spare units or define an acceptable substitute process. A superficially similar replacement can require different fixings or plumbing.
Convert the room schedule into a specification matrix
For each room type, list the basin model, tap, waste, counter or wall interface, toilet model, seat, flush components and any accessibility requirement. Add drawing revision, finish code and quantity. This matrix gives the designer, buyer and installer a shared reference; it also reveals when a “standard” room actually has several plumbing layouts.
Consider the cleaning team as a user of the specification. Can staff reach the back of the basin? Does the chosen waste allow service without removing the counter? Are toilet fixings and flush components accessible after finishes are installed? These questions should be answered in the mock-up room, not left for a maintenance manual after handover.
Use the sample room as a controlled test
The room trial should include production-intent finishes and the intended counter, wall construction and plumbing set-out. Record the installed rim height, tap reach, splash behaviour under normal use, seat clearance and access to service components. Mark any issue as design, product, installation or maintenance related, with an owner and proposed correction. Then retest the changed assembly. A sample room is valuable only if its approved details flow into the drawings and procurement schedule.
Photograph front, side and underside views, including concealed support before it is closed. Retain the approved product sample and label the room’s installed components. If a later substitution is proposed, compare it with the sample-room record: outlet position, counter opening, fixing centres, finish, spare components and cleaning access may all change even when the visible shape looks similar.
Control deliveries across phases
A phased hotel opening may involve multiple orders and receiving teams. Use stable model and finish codes, batch or shipment references, carton marks and a room-allocation record. Inspect a representative set from each delivery against the retained approval; do not assume that approval of the first batch automatically covers every later finish lot. Keep spares separate from installation stock so they remain available after handover.
| Project document | Decision it protects |
|---|---|
| Room-type matrix | Prevents accidental model changes between layouts |
| Approved sample-room record | Connects design intent to installed fit and maintenance access |
| Replacement and component schedule | Identifies what to order when a basin, seat or flush part fails |
| Receiving and room-allocation log | Traces delivered lots to installed rooms |
This is a general project-control workflow, not evidence that CADIA supplied a hotel. The hero image is a generated, unbranded bathroom illustration. For a real project, request current model drawings, available finishes and commercial terms for the exact shortlist.
Treat accessibility as a separate approval path
Accessible rooms may require a different basin projection, clear floor space, reach range or toilet configuration under local rules. Ask the project accessibility specialist to approve the assembled room, including grab bars and door swing, rather than assuming the standard-room model can be moved into a larger bathroom. Keep that variant distinct in the model matrix and spare-parts schedule.
For a staged opening, align batch identification and receiving records so rooms can be traced to delivered lots. CADIA product listings establish catalogue presence; project quantities, finish consistency and future supply need specific confirmation through an enquiry.